Create a Project
The project creation workflow is identical to the Cloud Portal. See Create a Project for the equivalent cloud page.
Start by creating a project. Having projects allows you to define the code base that will be active and delivered to your AI LLMs via the MCP interface. For example, if you are working on multiple upgrades at the same time, by having a project you can define the versions in each of those and easily switch between them.
Projects can be created on a personal basis (visible only to your account), or you can create them at an organisational level so they can be used by other members of your organisation.
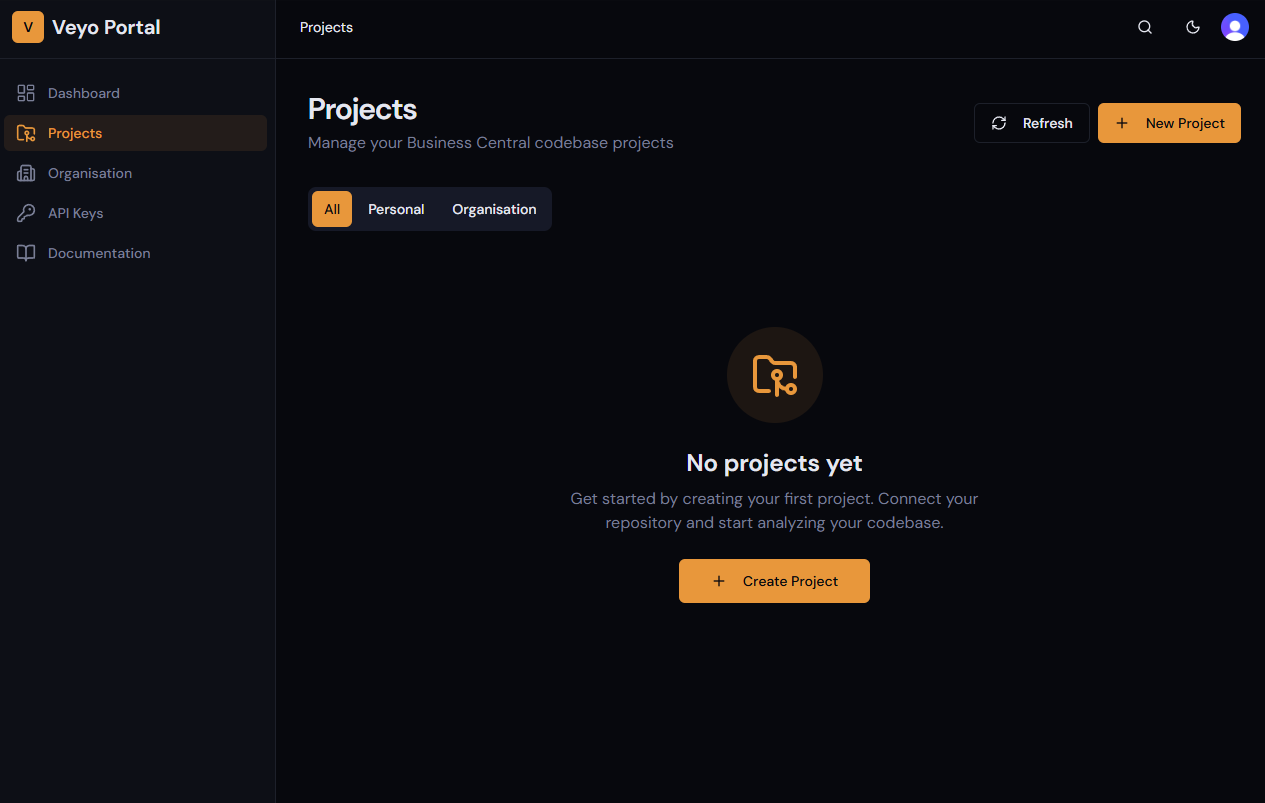
Access the project page from the left-hand navigation bar. If this is your first time, you will see that there are no projects. You can press Create Project to set up your first one. If you already have some projects, you can add additional ones by pressing New Project.
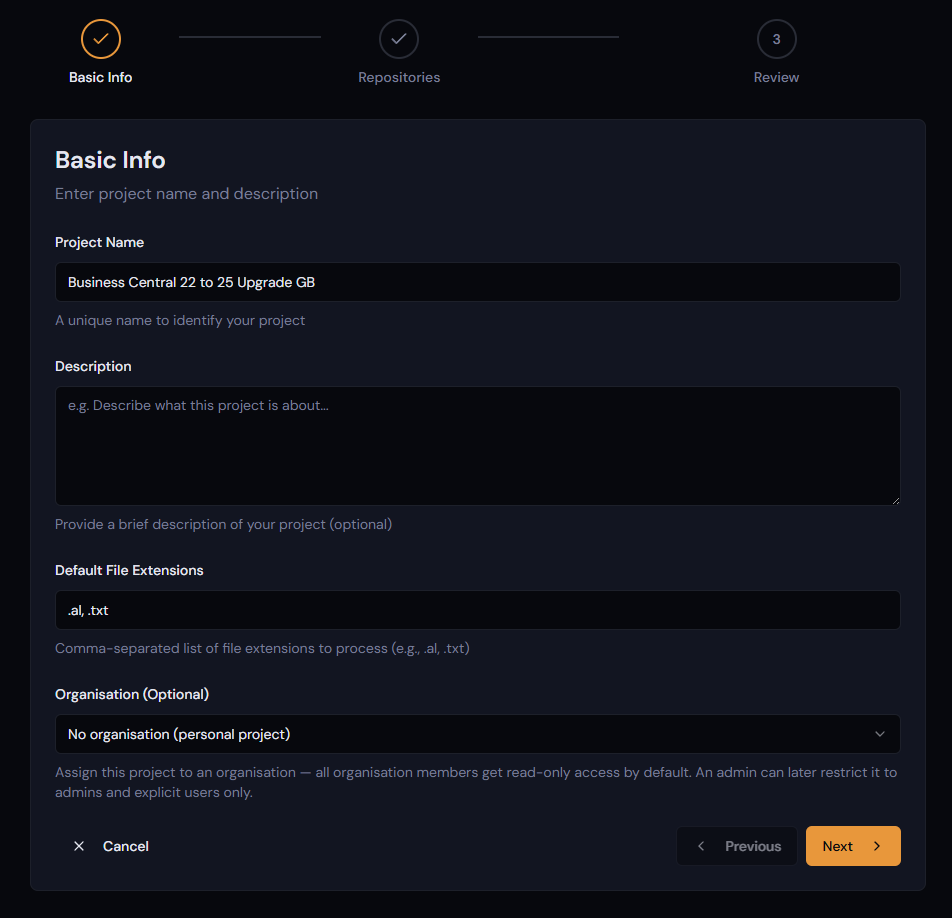
Once you have created a project, it will start the new project wizard. Start by entering a name and a description, and select whether it is to be set as a personal project for your account only or an organisational shared project.
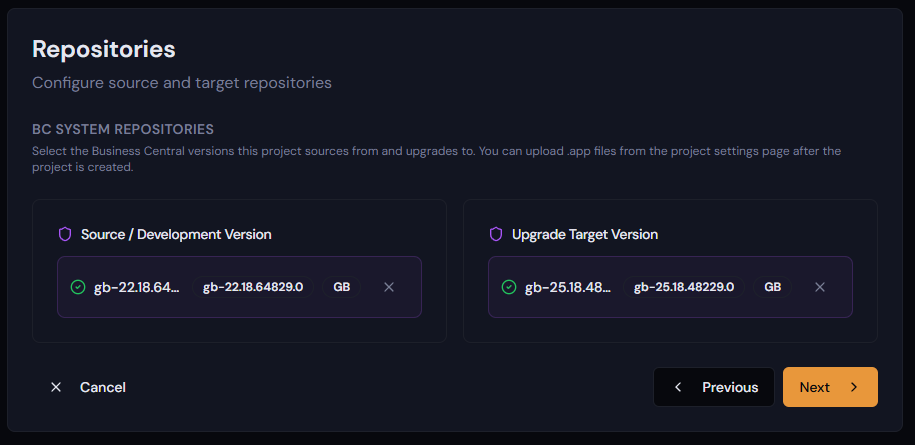
Select a Source or Development version using the Version and Locale filtering, then left click to highlight the Available Version you wish to use.
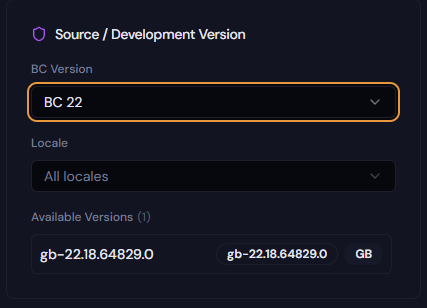
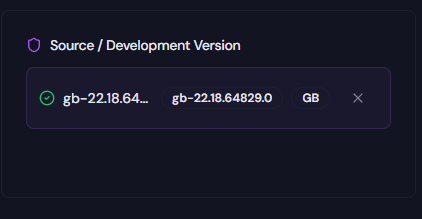
Once clicked it will appear like
If you are creating a project to assist with a version upgrade, you can select an Upgrade Target Version in the same way. If your project is just to give development context to your agents, the Source / Development version will be given by default, and the Target version is not needed.
Once at least a Source / Development version is selected, press Next.
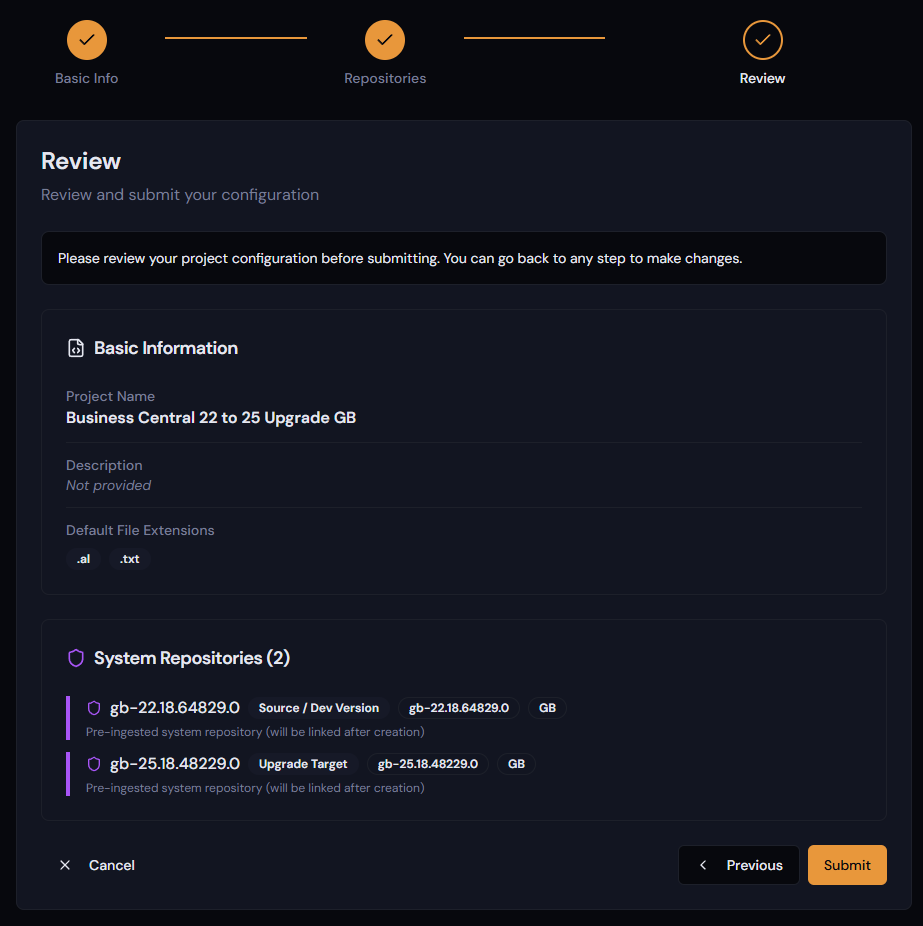
Confirm everything looks right and press Submit if so. Cancel or move to the previous step if something needs changing.
If this was the first project you created, it will automatically be set as your Default Project on the dashboard. This means any API key created that is allowed to use any project will use this one.
